Winter route difficulty: how to assess a destination
- Difficulty: Any level
- Duration: 2 hours to 4 days
- Season: Winter
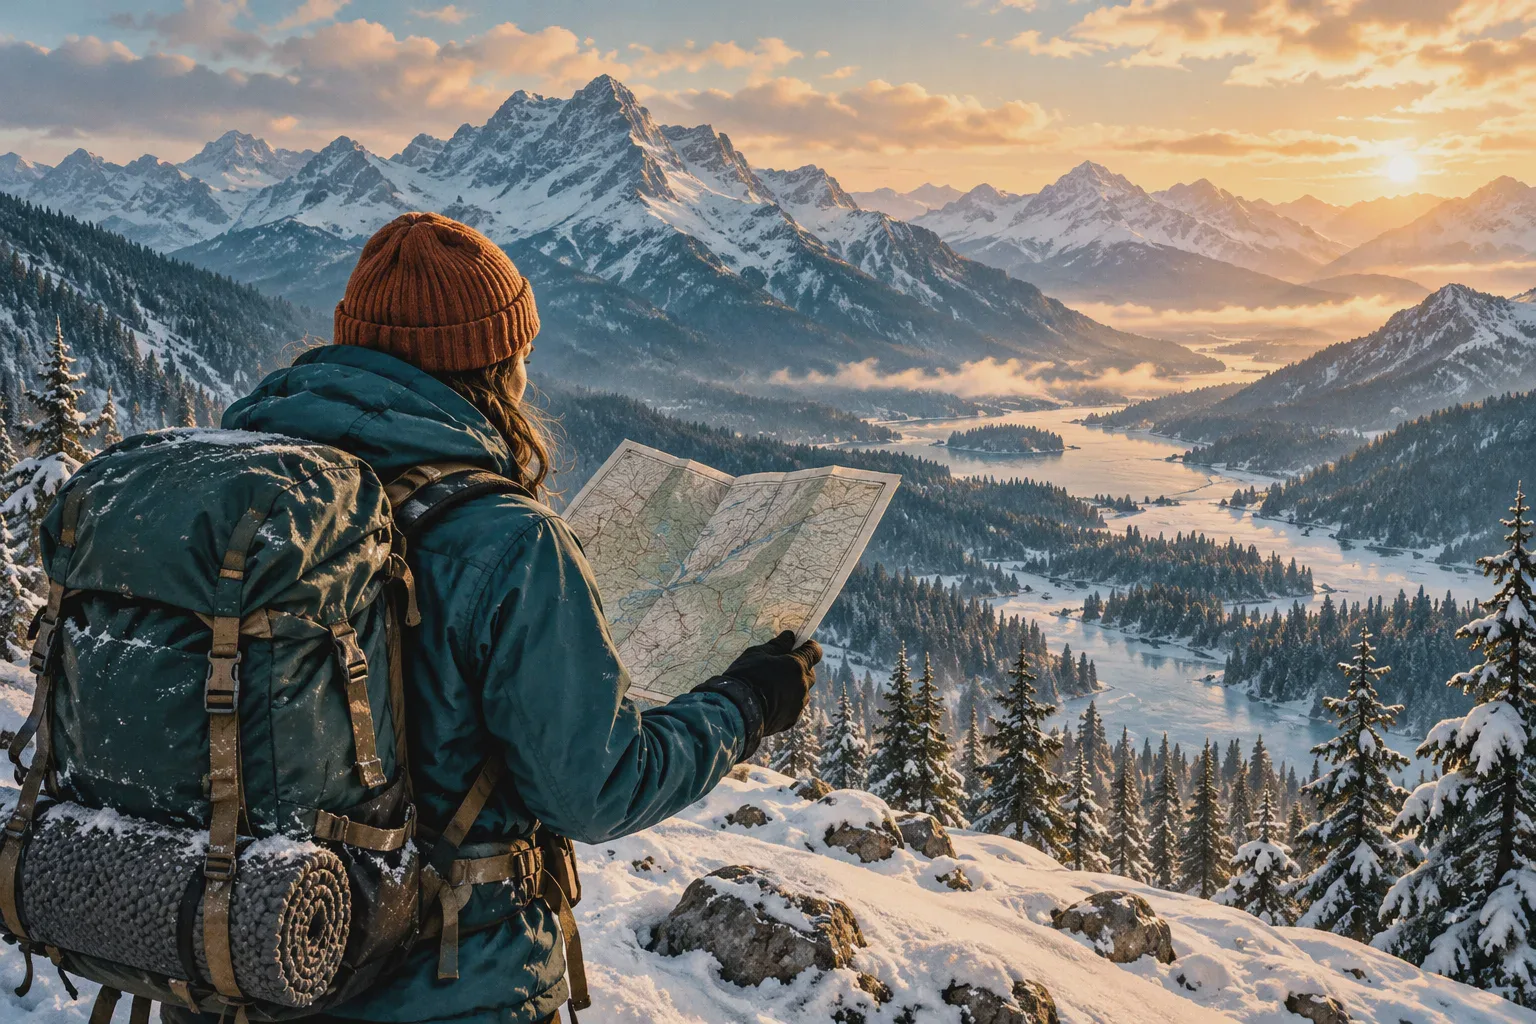
The same trail in summer and in winter is two different routes. A path to a waterfall that people walk in trainers in July can ice over in January, and the slope above it can load up with snow and become avalanche-prone. That's why in winter we assess difficulty from scratch rather than from the summer description.
What makes a route difficult in winter
- Altitude. Every 1,000 m up is roughly 6 °C colder. Above 3,000 m the thin air also takes its toll.
- Elevation gain and time on the move. On snow you walk one and a half to two times slower than in summer, and there's a third less daylight.
- Avalanche danger. The main winter factor. Slopes of 30–45° are dangerous, and so are the run-outs of avalanche chutes onto the floor of the gorge — an avalanche can come down from above onto a "flat" trail.
- Trail conditions. A trodden trail, ice, deep untracked snow or crust each call for different gear and effort.
- Weather and wind. A 10 m/s wind turns −10 °C into a felt −20 °C.
- Remoteness. How many hours to the road, whether there's a signal, whether a car can get through on the winter road.
Our difficulty levels
We divide winter routes into four levels — from a walk to mountaineering.
- Easy — a walk. Up to 2,500 m, up to 500 m of gain, a trodden trail away from avalanche slopes, 2–5 hours. Warm clothes, boots and microspikes are enough. Suitable for beginners and school-age children.
- Intermediate — a day hike. 2,500–3,000 m, 500–1,000 m of gain, 5–8 hours, possibly untracked snow and short stretches under slopes. You need fitness, snowshoes or crampons and summer hiking experience.
- Difficult — overnight or high up. 3,000–4,000 m, a night in a hut or tent, crossing avalanche-prone slopes, passes. An avalanche kit is mandatory, as are winter hiking and navigation experience.
- Expert — mountaineering. Above 4,000 m, glaciers, peaks graded 1B and higher. Only with mountaineering training, a rope and an experienced leader.
Grades of passes and peaks
In the mountains of the former USSR, passes and peaks are graded on a scale from n/k (ungraded) and 1A to 6B. These grades are given for summer. In winter half a grade to a full grade is usually added: a 1A pass in winter is closer to 1B in terms of effort.
The avalanche scale
Avalanche danger is rated on the five-level European scale:
- 1 — low: avalanches are possible only on very steep slopes under heavy load.
- 2 — moderate: care is needed on steep slopes.
- 3 — considerable: the most treacherous level, where most accidents happen. Going onto slopes steeper than 30° only with experience.
- 4 — high: avalanches release even under light load and on their own. Stay in the valley.
- 5 — very high: no trips into the mountains at all.
The first 1–3 days after heavy snowfall, a sudden thaw and strong wind that moves snow around are especially dangerous.
How to choose a route for yourself
Honestly assess the weakest member of the group — the pace and the route are set by them. Start the season with easy outings, raise the level gradually and always keep a backup plan: turning back is also a proper ending to a hike. The PDF for this article has a table of levels and a short list of questions to ask yourself before you set out.
📄 Download the PDF (in Russian): Winter route difficulty: how to assess a destination